You'll need a couple of supplies to get started. I used the following:
Qt sized Mason Jars
Cucumbers
Mandolin
Sugar
Salt
White Vinegar
Fresh garlic glove
Fresh Dillweed
Boiling pots
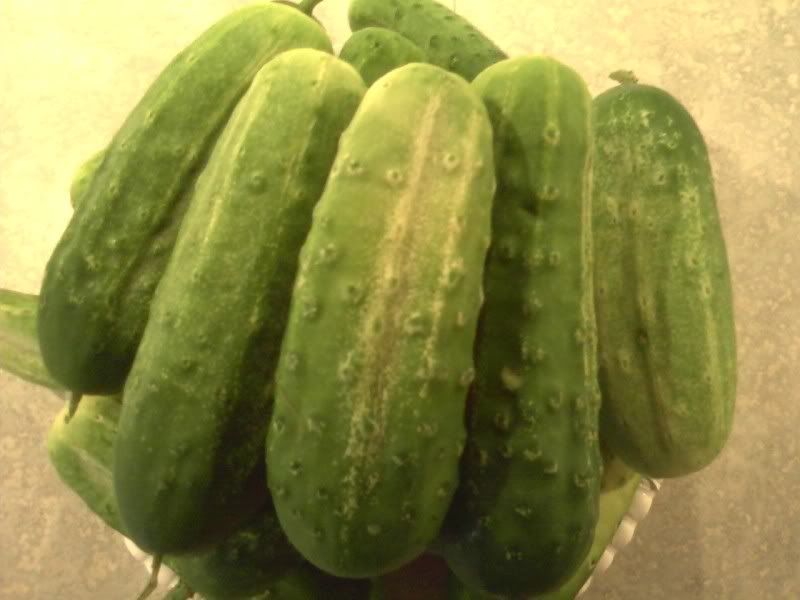
The cucumbers have a better taste when picked early in the morning (don't ask me why, I just read that somewhere). So pick a bunch when they range in size of 4-6 inches long and about 2 inches in diameter. It'll look something like this-
They need to be rinsed well and left out to slice. As I got ready to slice, I cleaned and sanitized the mandolin.
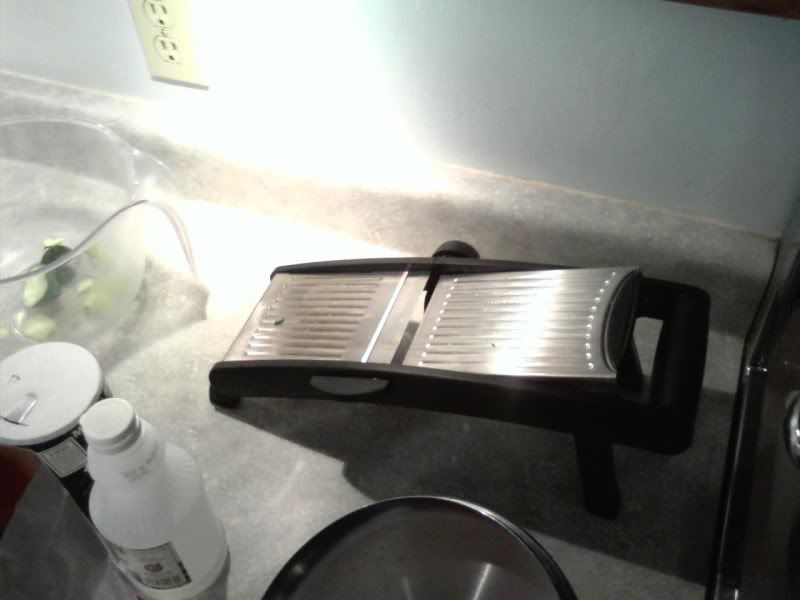
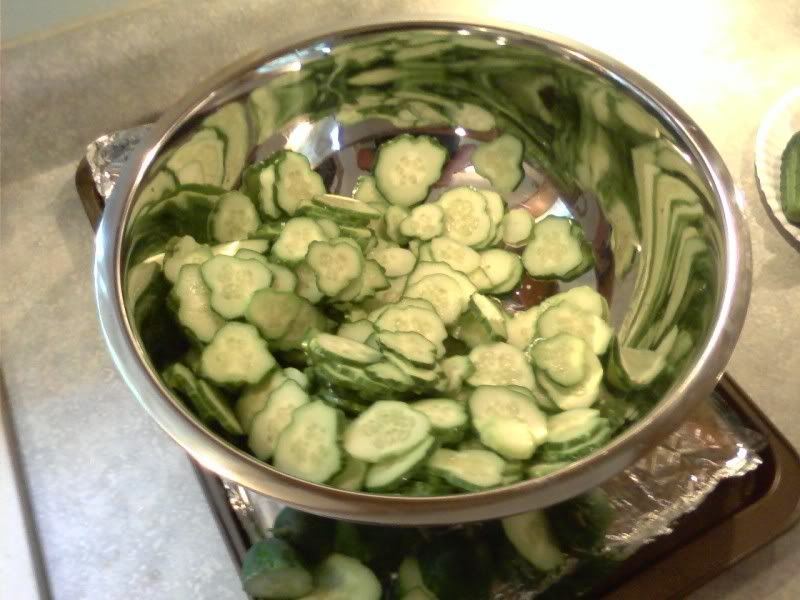
I used it to make varying slices of pickles. Most were sliced like chips, some were sliced lengthwise and some were ripple cut. Have fun with it, but watch your finger tips. Nobody wants a mess in their pickles... Here's how some turned out.
After slicing, I proceeded to create the pickle solution. Before I share the recipe I used, just know that I didn't follow it to the letter. It wasn't for lack of trying, but this thing is written like an ancient potion recipe. I kept wondering when I needed to drop in the eye of newt. Fortunately for me, it's just an Amish recipe my grandma shared with me. Unless you're a chef, these directions leave something to be desired. Here are the ingredients:
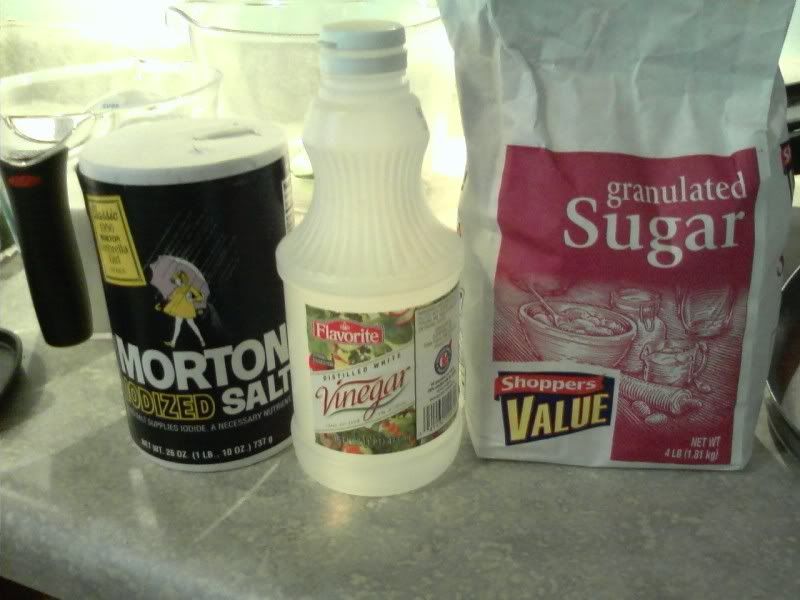
And here's the recipe:
Sweet Dill Pickles to Can
3c. white sugar
3c. vinegar
1c. water
2T. salt
Heat to melt sugar. Wash and slice pickles thin. Pack in jars ¾ full. Add and 1 good size dill head and 2 slice garlic. Put in canner, let come to boil for 5 minutes, turn off heat, let set in water till cool. Take out jars. This is enough juice for 3 qt.
-Alma Hershberger
Nice huh? I'm not sure what a "good size dill head" is either. After I made the "juice", I started preparing the canning supplies. Clean and sterile is the name of the game here. I started by rinsing the jars in hot water and letting the hot water warm them up so they didn't crack later.
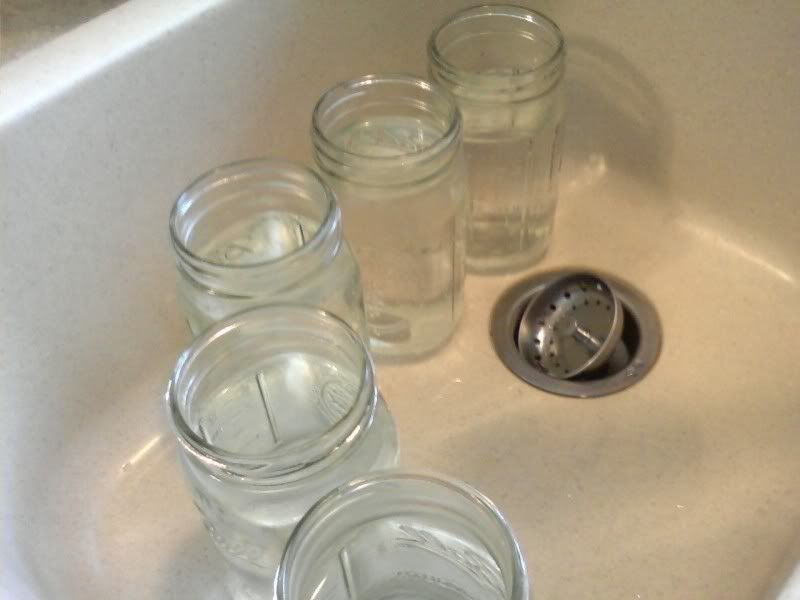
While those sat, I sterilized anything that would come into contact with the jars by boiling them in a pot.
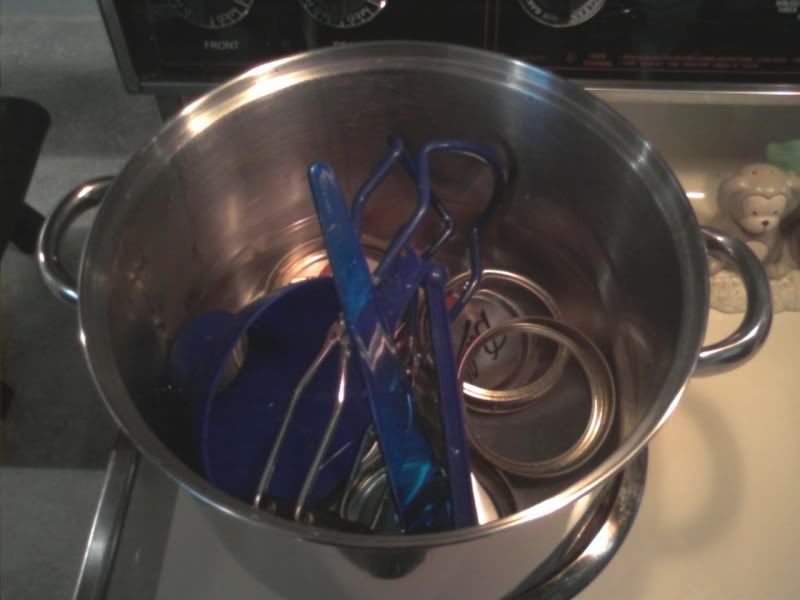
As all that sat getting ready, I started my canning pot outside. It uses a propane burner, and I love it. It keeps a constant temperature, and gets extremely hot with a quickness. I highly recommend one.
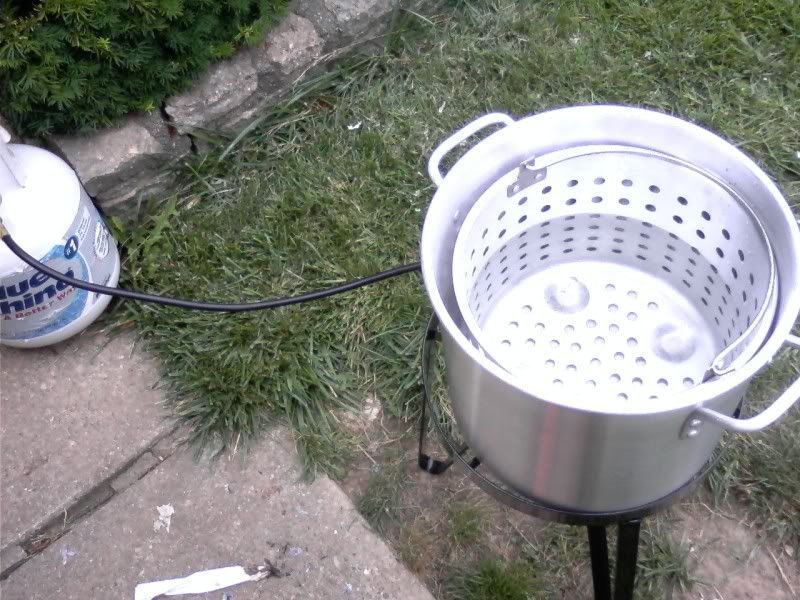
Since everything was ready to go at this point, I put the pickles in their new homes, and got them ready to take outside to bake.
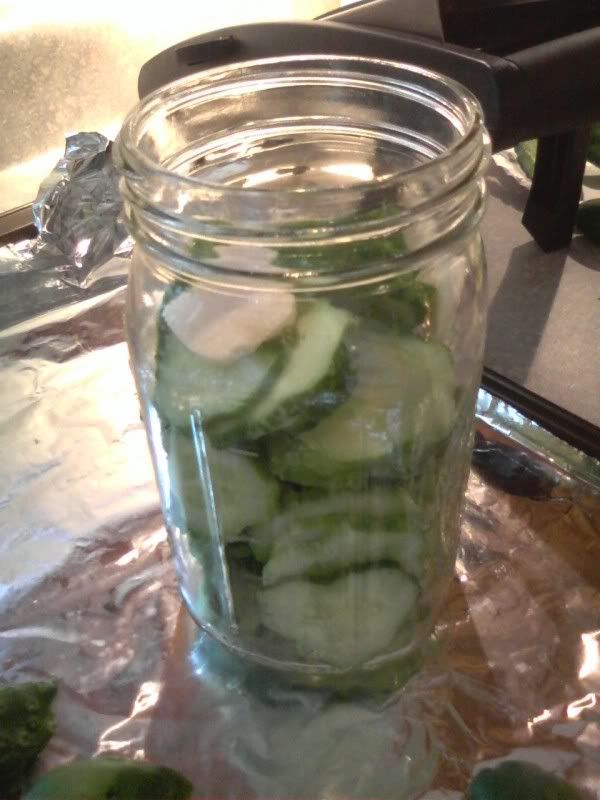
The lids were put on and the rings were tightened down snug. All the jars were carefully placed in the basket and lowered into the hot water bath.
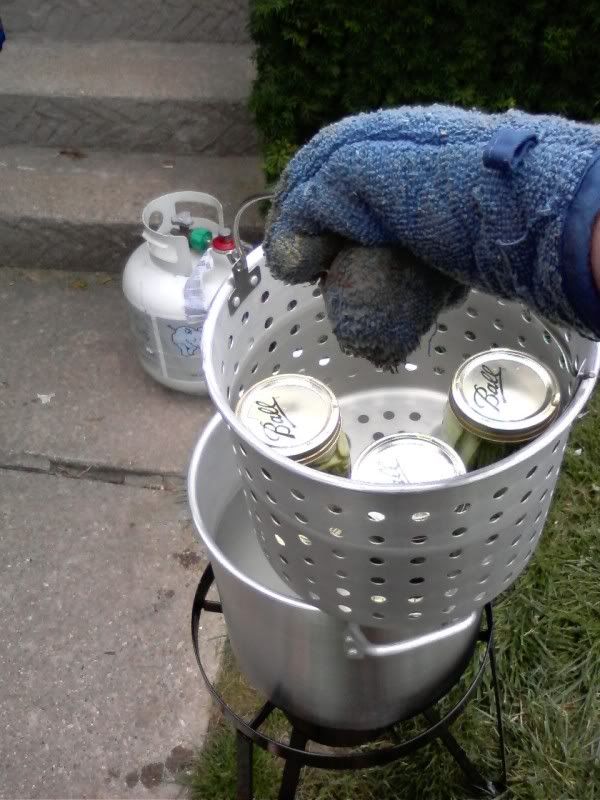
This caused the pot to stop boiling for a few seconds...
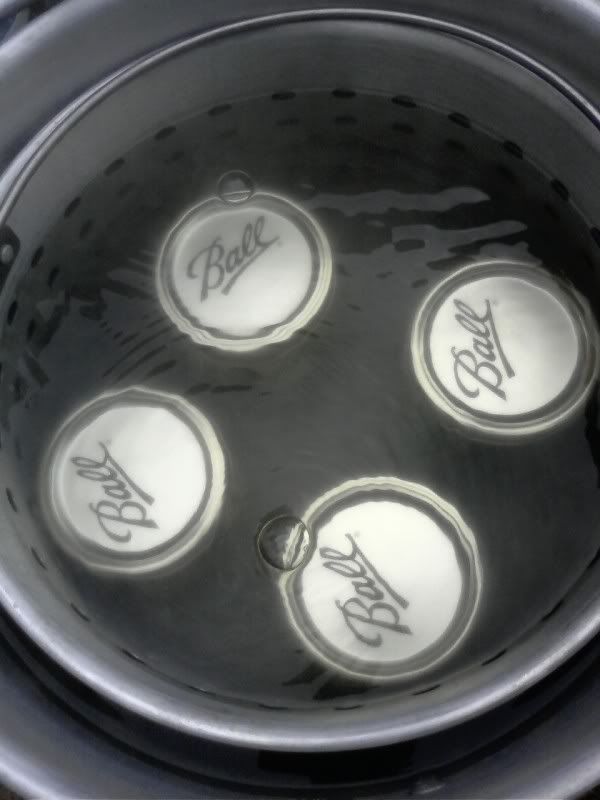
But it quickly came back.
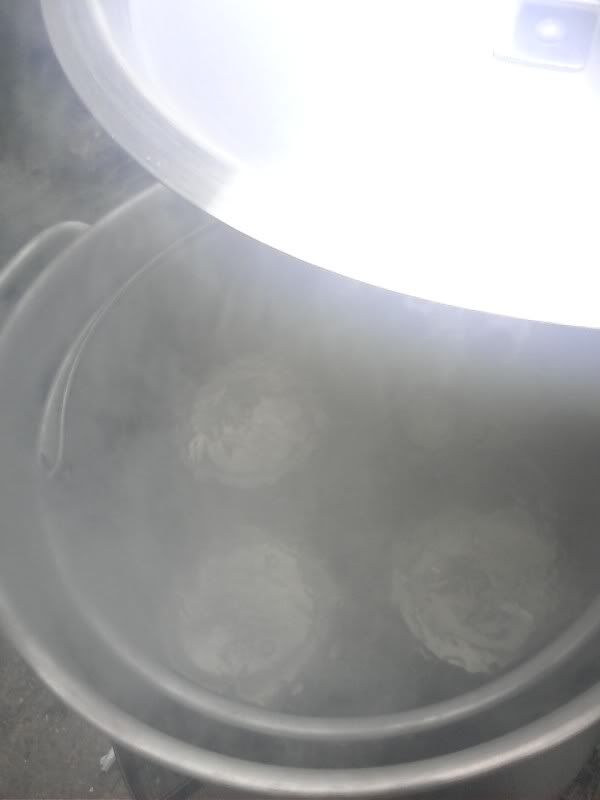
Five agonizing minutes later they were ready to be removed. They need to rest a bit before going into storage, and I waited about a week before I opened one to let the flavors meld together.
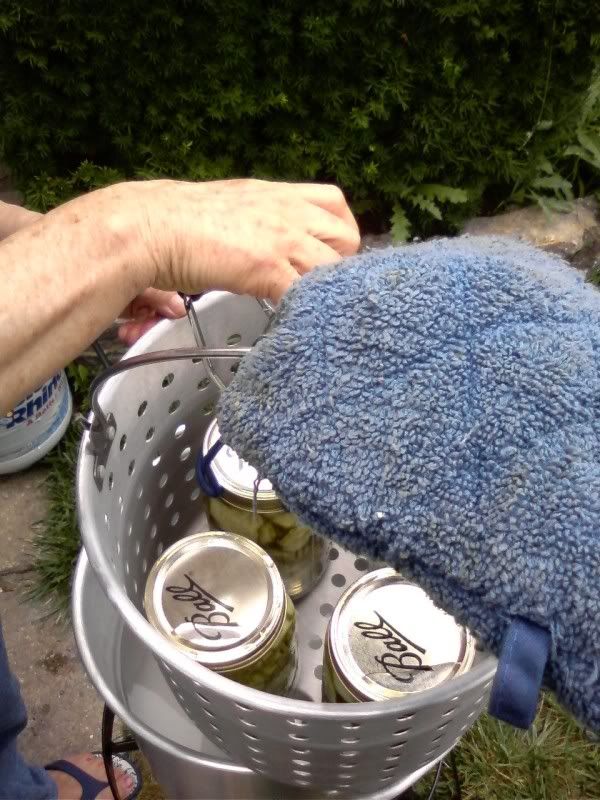
These pickles didn't last very long. They were amazing. My uber-picky wife who HATES pickles reluctantly tried one and loved them. (If you knew my wife, that says a lot). If you try to make these, I hope you have the same results. I was really looking forward to making them again this year, but my cucumbers just never did very well this year. Thanks for reading.
No comments:
Post a Comment